- Basic
- Header and Footer
- Registration Mark
- Colour Block
- Colour Block Variations
- Colour Block & Images
Basic Design Elements
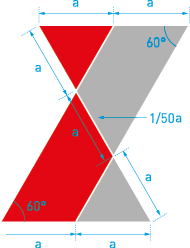
60°x / 30°y angle - (same angle as the three diamonds)

30° angled box (monochrome)

30° angled line (red, 40% Black, black)

Red Aread (veritcal)

Red separator (vertical)

Header and Footer

Registration mark
As a rule, the registration mark is located on the right outer edge of the medium. The area consists of a rectangle with a corner at a 36° angle on the lower end. Assuming an A4 medium, the size is 10 mm wide. For other formats it should be increased or decreased proportionally.
The chapter title stands in the area in capital letters and is vertically rotated. The length of the area is determined by the length of the title. A font size below 6pt should not be used. The area is always depicted in MMC Black, and the chapter title in white.

How to use the Colour Block
The Colour Block is a deign element that can be used as a stand-alone element.
It can also be combined with images, logos or texts.
Dimensions:
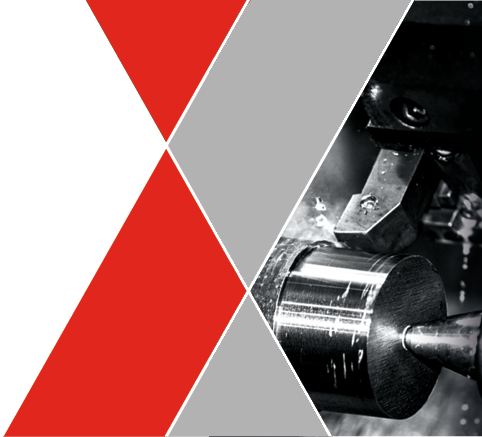
Colour Block Variations
Standard Colour Block vertical + horizontal

Colour Block with black element vertical + horizontal

Colour Block with black element without whitw lines vertical + horizontal

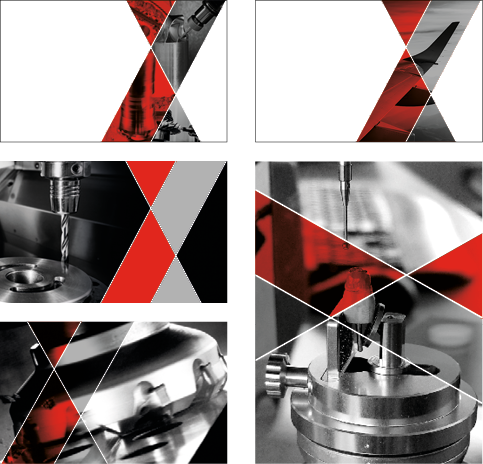
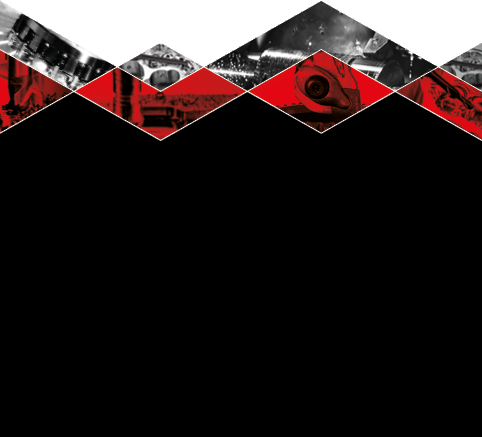
Colour Block with images
Combination of image and the Colour Block
The black and white photography can be also combined with the Colour Block introduced by Mitsubishi Materials. In this way, the images become more dynamic.
The usage is easy and can be modified as follows:
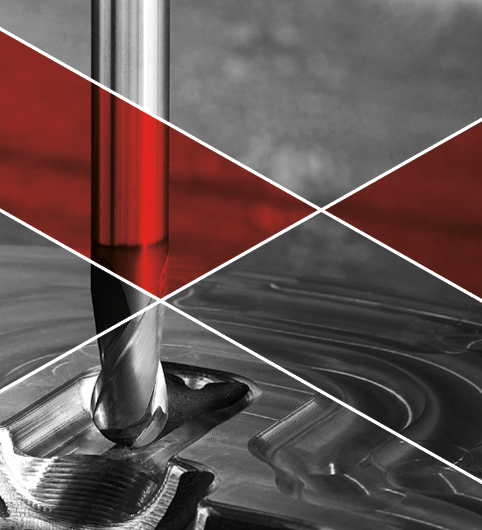
Colour Block in front of a picture
How to use:
- Use the standard Colour Block:
> MMC RED + MMC GREY (40%K)
Place it over the desired picture, ideally an action shot of a Mitsubishi Materials Tool. - Set the individual elements of the Colour Block, via the effects tab to multiply - the opacity always remains 100%.
Single picture in the Colour Block
How to use:
- Duplicate the standard Colour Block:
> MMC RED + MMC GREY (40K) and place it in "original position" - creating an overlay.
Hide one of the two.
Select each element of the Colour Block and merge it to one piece via the pathfinder tab > Addition. - Then fill the new, modified Colour Block with the selected picture.
Fade in the other, original Colour Block and set the individual elements of it via the effects tab to multiply - the opacity should always be 100%. - As an option, a black shape can be placed next to it.
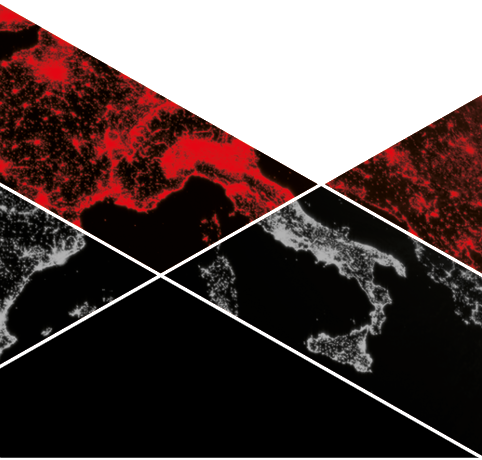
Seperate image in each element of the Colour Block
How to use:
- Use the standard Colour Block:
> MMC RED + MMC GREY (40%K)
Place it wherever is preferred.
Fill each element of the Colour Block with the required picture > ideally, action shots of Mitsubishi Materials Tools, or tool related industry pictures. - Then set the individual photos, which were placed before, via the effects tab to multiply - the opacity should always be set at 100%.
- Additionally a black shape can be placed next to it.
Simple Colour Block next to image
How to use:
- Use the standard Colour Block:
> MMC RED + MMC GREY (40%K)
Place it next to the desired picture / ideally an action shot of a Mitsubishi Materials Tool, or a related industry picture.
Place the picture behind the Colour Block. - As an option, a black shape can be placed next to it.
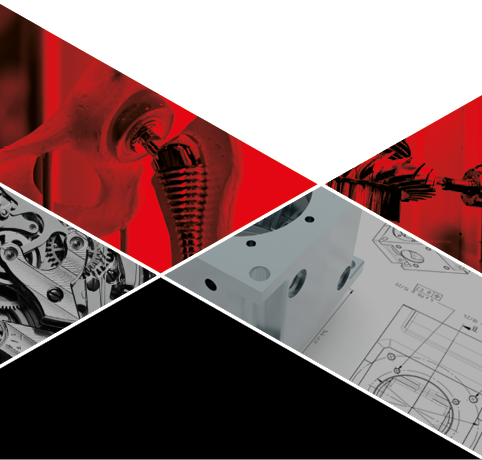
Colour Block with pictures
How to use:
- Use the standard Colour Block and modify it:
> MMC RED + MMC GREY (40%K)
Duplicate it as often you need it and create a chain by placing it next to each other > mirror it and move it, until it creates a uniform chain.
Select the start and the end triangle element of two different Colour Blocks which are laying next to each other.
Merge them to one piece via the tab Pathfinder > Addition. - Fill each element of the Colour Block chain, with pictures as required.
> ideally, action shots of Mitsubishi Materials Tools, or tool related industry pictures.
The set the individual elements of the Colour Block, via the effects tab to multiply - the opacity should always be set at 100%. - As an option, a black shape can be placed next to it.
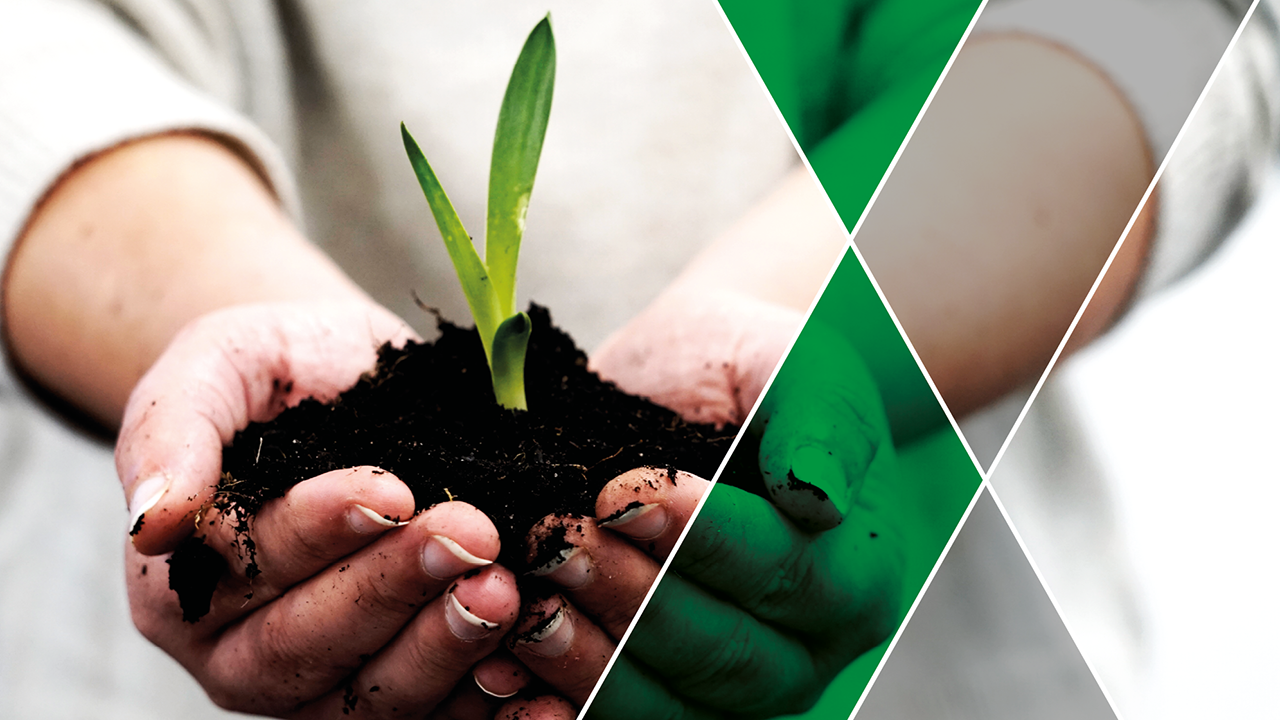
Thematic Imagery
In special cases, the "Color Block" design element can be customized to enhance visual emphasis and highlight specific themes. For example, when addressing topics such as recycling or sustainability, the "Color Block" may be rendered in relevant shades of green or blue to reinforce the intended message. Additionally, the Color Block can incorporate partially highlighted or colored images to provide contrast and draw attention to particular details.
- Proper usage of the "Color Block" includes:
- Maintaining consistency with the overall design language of Mitsubishi Materials.
- Applying color selectively and purposefully to enhance thematic relevance.
- Ensuring that any color usage harmonizes with the corporate color palette.